Skip to Main Content
RSS Feed
Instagram
X
Facebook
Submit Search
Search
The X-RAY
Open Navigation Menu
The X-RAY
Home
News
Arts & Entertainment
Opinions
Features
Sports
In-depth
About
Staff
More
The X-RAY
Open Search Bar
Search this site
Submit Search
Open Navigation Menu
The X-RAY
Home
News
Arts & Entertainment
Opinions
Features
Sports
In-depth
About
Staff
More
The X-RAY
Open Search Bar
Search this site
Submit Search
All content by PHOTO BY SOPHIA SMALLWOOD
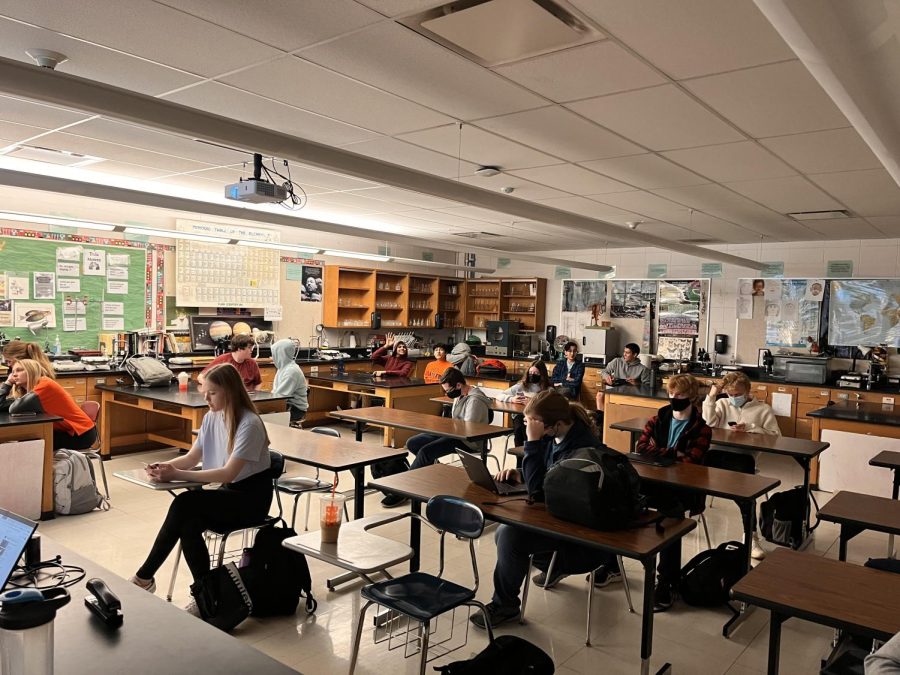
[Photo] STEM classes at East: Where have all the girls gone?
Sophia Smallwood
, Staff Writer
April 5, 2022
Load More Stories
Close
Close Modal Window
Close